Showing posts with label Holiday Gift Guide 2015. Show all posts

Tuesday, December 22, 2015

12/22/15: Sky Viper s670 Stunt Drone Review

Drones are pretty awesome.  We recently received the Skyrocket Sky Viper s670 Stunt Drone for review and Evan couldn't wait to fly it.  Not only does this drone fly up to 16 MPH but it does stunts too!
Evan got used to it right away and with multiple flying experience levels he could start out at Beginner and get used to flying it.
Here is what it comes with.  It includes a rechargeable 3.7v 350mAH LiPo Battery, USB charging cable, remote control, 4 replacement blades, and even a small screwdriver.  The rechargeable batter is easily removed from the bottom of the drone and we plugged it in to the USB drive on our computer with the cord provided.  It charged very quickly.  It is lit red until it is fully charged and then changes to green.  It only took about 15 minutes to charge.  As you know kids want immediate satisfaction so Evan was excited with how quickly it was charged.  The remote control takes 4 AAA batteries not included.
Here you can see Evan flying it.
As you know these flying drones often hit the ground or other objects.  This drone has a Super Tough Duraflex Body to handle impact.
Having 4 blades gives it more stability.
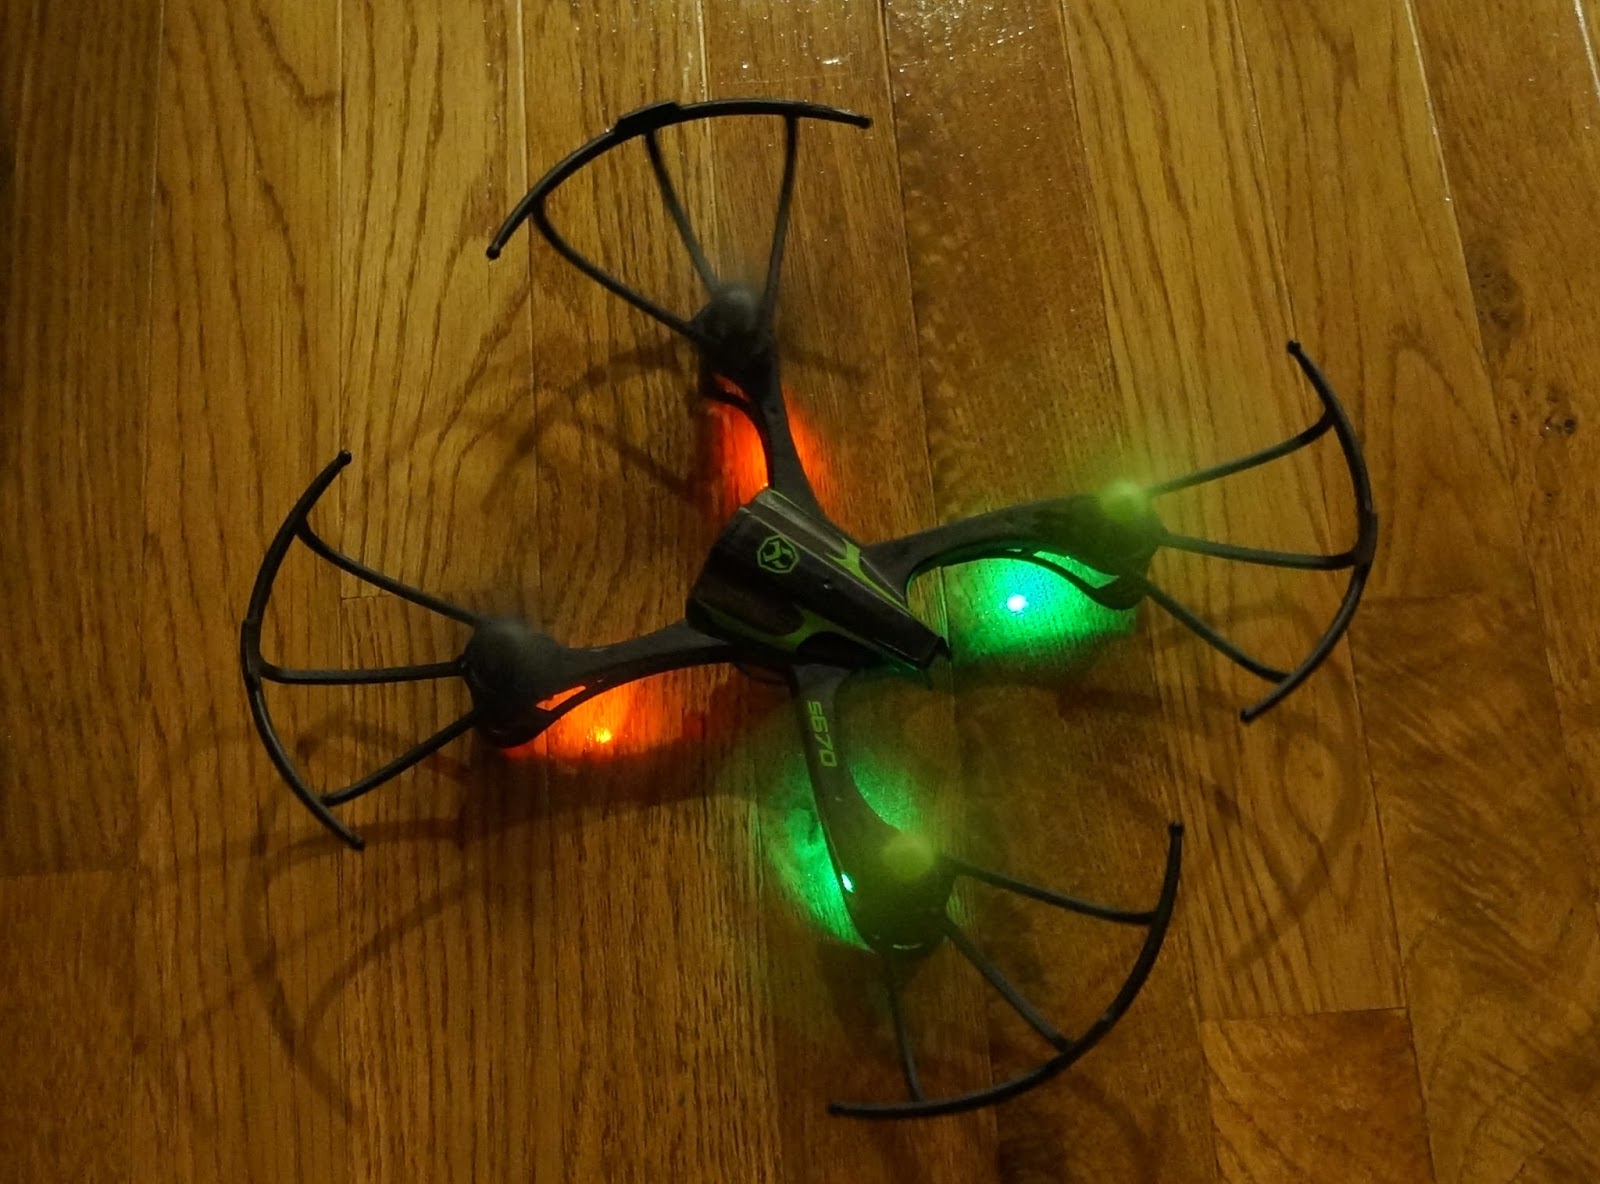
Evan was having a great time with it.
It even has a stunt button which allows it to do barrel rolls and flips.
What a great little drone.
Here it is as packaged.  Learn more at Skyrocket Toys:  http://www.skyrockettoys.com/
Disclosure:  I received the Sky Viper s670 for review purposes.  No other compensation was received and all opinions are my own.

Saturday, December 19, 2015

12/19/15: Skyrocket Toys Candy Craft Chocolate Pen Review

Put a toy together with chocolate and it is bound to be a hit with kids.  We recently received Skyrocket Toys Candy Craft Chocolate Pen for review.  Lauren was anxiously awaiting the delivery of this cool Chocolate Pen.  We watch a lot of decorating shows on the Food Channel and I also cake decorate and make chocolate molds for the kids birthdays so I think this is why Lauren is so interested in it.

   This Chocolate Pen is a motorized pen that dispenses real liquid confectioner’s chocolate in multiple colors.  You can use it with molds, or design your own creations with it.
Here is what the set comes with.  There are four tubes of chocolate including pink, blue, brown and white, small plastic bags for your creations, the chocolate pen itself which requires 2 AA batteries, three molds, and 4 tips and clips.
We first tried out the pink.  Of course Lauren picked pink, it is her favorite color.
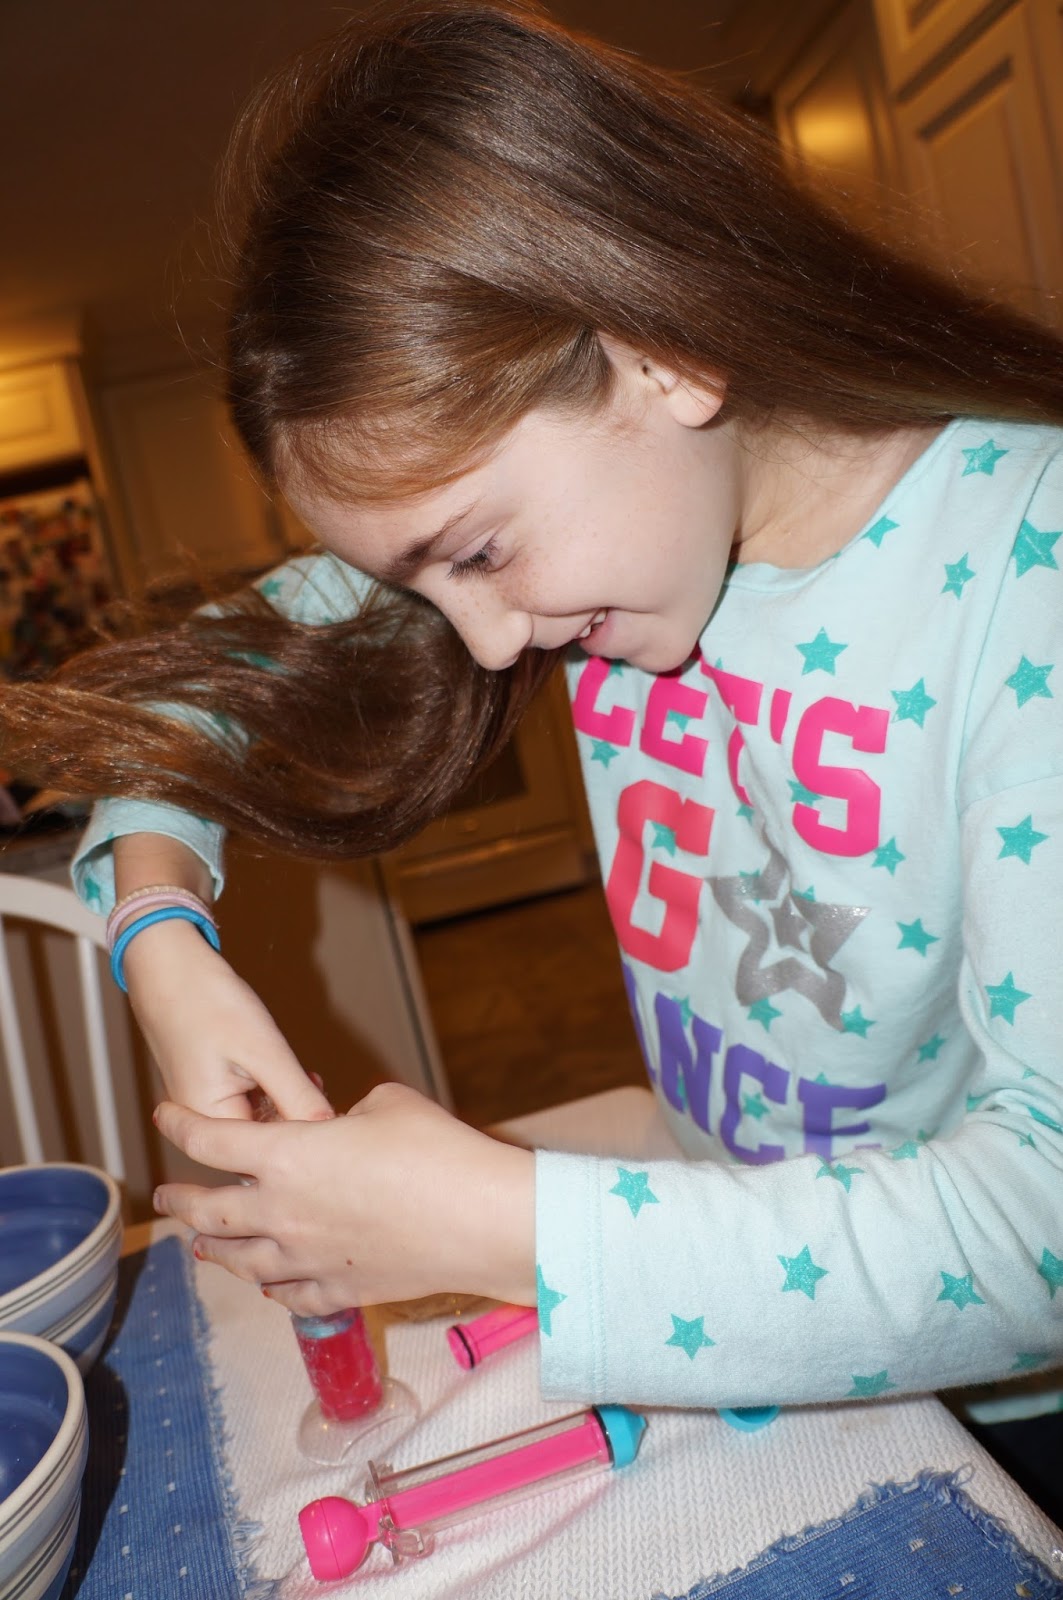
The first step is to put the tube of chocolate in to hot water.  Kids will need a parent's assistance during this part.  I heated some water in the microwave to make it hot and we put the tube in.  You can take the tube out and kneed it to see if it has softened up.  If it isn't melted put it back in the water.  The consistency is key because if it is not thinned out enough the chocolate pen will jam.  We learned this the hard way.
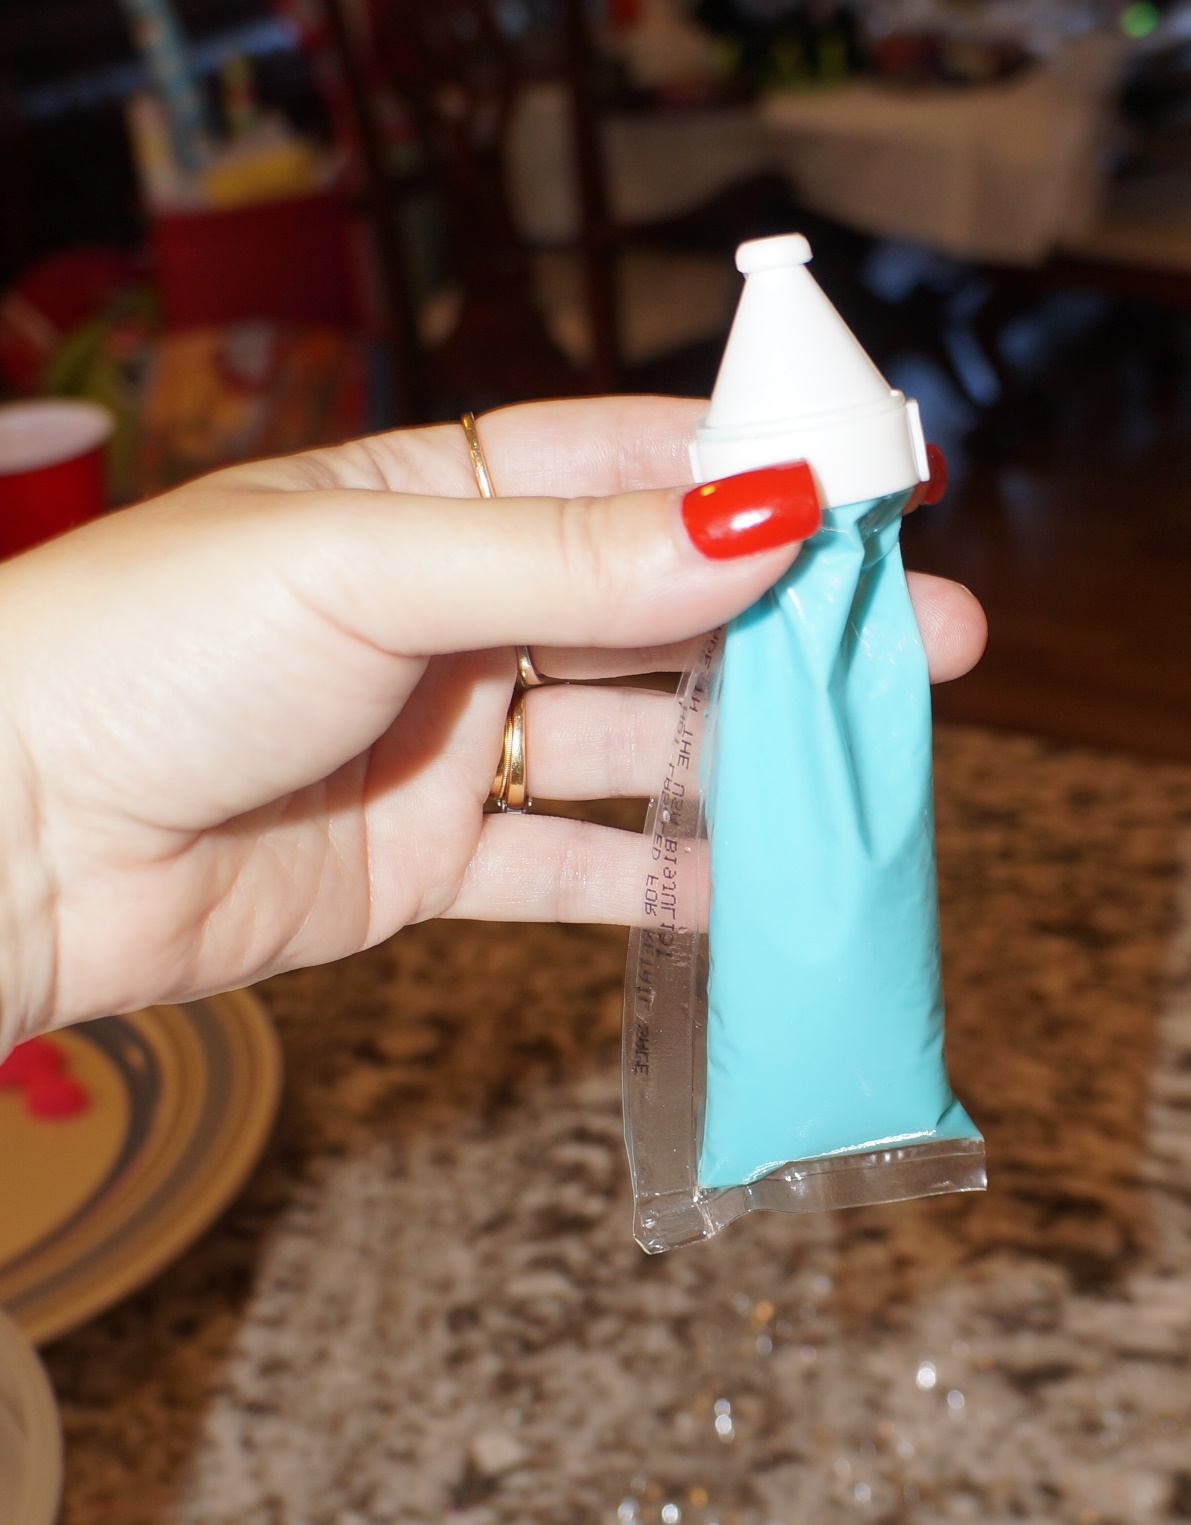
Here you can see the blue chocolate thinned out.  Press all the chocolate to the bottom and cut the top off in a straight line.
Put the tip in to the bag.
Then put the clip around the base of the tip.
Now it is ready to load in to the Chocolate Pen.  Make sure to put the stopper in to the tip to ensure the chocolate doesn't spill out during this step.  I learned this the first time when I did the pink and forgot it and pink chocolate was going everywhere.
Now your chocolate pen is loaded and ready to go.
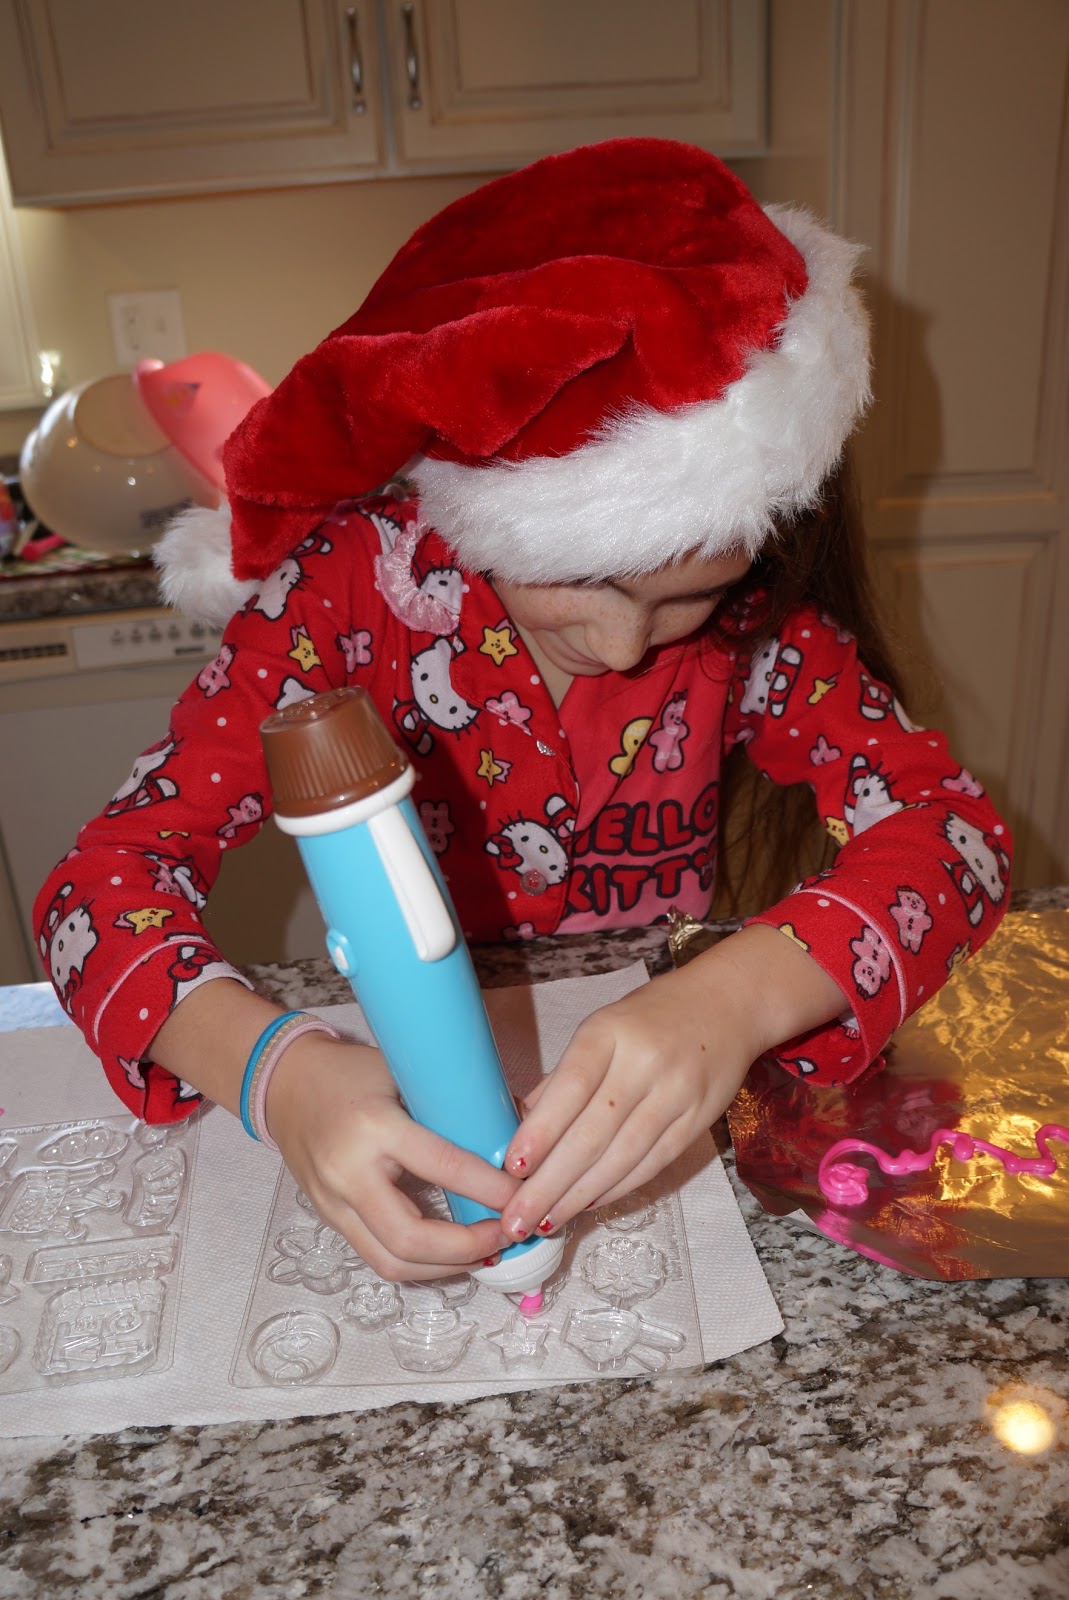
There is a switch to turn it on and now you are ready to go.  Here is Lauren making some hearts.  You should do this on wax paper or parchment paper but I didn't have any in the house so we used tin foil.
Then Lauren moved on to the molds.  You just need to fill the molds.  You can also do multiple colors if you want.
Once they go in to the molds just pop them in the freezer for about 5 minutes and they set.
Here are the lips Lauren made.
Here is the Lauren I wrote with chocolate.  It takes a little getting used to.  Lauren had a hard time writing with it but got better when she did the hearts and didn't try to write words.
Here is the L.
Lauren trying out the chocolate.  She liked the taste of it.  The pink is white chocolate.
Here it is as packaged.  Manufacturer's suggested retail price is $29.99.
Disclosure:  I received the Chocolate Pen for review purposes.  No other compensation was received and all opinions are my own.

Friday, December 18, 2015

12/18/15: Orbeez Crush Sets Review

Lauren has been playing with Orbeez products for a while and has always had fun with them.  She was very excited when Orbeez Crush Sets showed up to try out.  We received 4 sets including Crushkins Pets, Crushkins Safari, Crush N' Design Hearts and Happiness, and Crush N' Design Butterfly and Fairy.  She decided the first set she wanted to try out was the Crush N' Design Hearts and Happiness as she liked the I Love U design.
Creating these masterpieces is quite easy.  First you need to create your Orbeez.  Remember that it takes about 4 hours for Orbeez to grow so you may want to do this in advance of your child getting all excited to make the kit.  We got four bowls and put the four colors in which included pink, purple, blue and yellow.  We added water and a dash of salt and let them grow.  Four hours later and straining them out of the water this is what we have to start with.
As you can see the colors are really vibrant.  Lauren especially liked the pink and purple.  Now we were able to get to work with our Crush N' Design Hearts and Happiness Kit.  This set comes with two designs and 300 Orbeez (75 of each color).  She decided to start with pink.  It is very easy to crush.  You put about 30 Orbeez in to the Crushing Tube and then take the end of the injector and press it down to crush the Orbeez.  This fills up the tube.
 Here you can see Lauren's amazement as she started crushing the pink Orbeez.
Now you screw the cap back on to the injector and put the plunger in (pink piece shown above) and get your design.  She chose the heart first.  There is a small hole in each of the areas that you fill.  You just insert the tip of the injector in to that hole and push down until the section is filled.  It easily filled each section.  Sometimes we had some spill over out of the sides so I recommend putting down a paper towel or something underneath so you don't make a mess.
 Here you can see the pink close up being filled.
Next she chose the blue.  There are two injectors so you can do two colors at a time.  Once you move on to the other two colors however you will need to wash out the injector.  The crushing tube needs to be washed in between each color as only one is included.
Here you can see the blue after it was crushed in the injector tube.
Here you can see it is really coming together.
These are her creations.  If you want you can put a picture in the LOL one but she chose not to.  She liked it the way it was.
They come with suction cups so you can put them up
Here you can see some of the crushed up Orbeez around the finished product as sometimes they would flow back out of the holes.  This is why I suggest the paper towel.  With it we had no issues cleaning up.  They are also reusable as you can un-clip them and open them and clean them out.  You can then fill them again with a different color combination.  You can even buy pre-made Orbeez.  I recently saw them at the store.
Here are the four sets as packaged.  Each works in the same way.  These would be a great gift for any child on your list.  Find them online:  http://orbeezone.com/
Disclosure:  I was provided with these four sets for review purposes.  No other compensation was received and all opinions are my own.

Thursday, December 17, 2015

12/17/15: Litiholo Holograph Kit Review

I have a very unique gift up next in my Holiday Gift Guide.  I did not know it even existed but that is a Litiholo Hologram Kit which allows you to make your own Hologram images!  How cool is that?  We tried it out and after a few false starts we were making holograms like a pro.
First lets start with what the kit comes with.  It includes a safe, Hologram-Quality Laser Diode 2.0, "Instant Hologram" Film Plates (20 - 2"x3"), Laser-cut Holographic Plate Holder, Laser-cut Laser Mount (with 2 diode mounting pieces), LED Darkroom Light (For seeing in the dark without exposing the film), Battery Pack (batteries not included) and toy car to use as an object to make your hologram.
It is fairly easy to setup.  Ensure that you are on a stable surface and that the room you are in can be darkened enough to make it similar to a darkroom.  The laser diode has a cap on it that is unscrewed and a small spring is removed.  You will need some batteries to put in to the battery pack.  Connecting the red and black wires is also easy with alligator clips that are contained with the set.  Putting the laser diode through the small hole in the black piece was a bit of a challenge and the heat sink clip being clipped to the diode was probably the hardest thing.  I needed to do this for Evan and it took me a few tries.  I ended up removing the diode from the black piece, putting the clip on and then placing it back.
Once you are setup you want to test the laser and also let it warm up for about 5 minutes before attempting your holograph.
We started with the car that was provided.  You can use any object though.  There is an etched rectangle on the plate that shows you where to place the object.
The white card behind the glass plate allows you to see how the laser is spreading out to ensure it covers the object and the plate.  There is a groove that it goes in to so it is easy to know you have it in right.
This is where the tricks come in.  The first time we tried to create the hologram it didn't work as I placed the "Instant Hologram" Film Plate backwards.  Place the plate with the film cover outward away from the object.  The first time I had the film closest to the object and it did not work.  This is the only place I think that the instructions could have been a bit clearer.  I ended up finding it on their website.  The other things to be aware of is that it is very sensitive to vibrations so for the 5-10 minutes it is creating the holograph you should keep the area quiet and without a lot of movement.  This was our biggest struggle with kids and a dog running around.
Here is our finished work of art!
Pretty cool huh?  The kit includes enough "Instant Hologram" Film Plates to make 20 holograms.  For $64 you can purchase another 20.
 Here is the kit as packaged.  The manufacturer's suggested retail price is $99.99.  Learn more about Litiholo products here:  http://litiholo.com/
Disclosure:  I was provided with the Hologram Kit for review purposes.  No other compensation was received and all opinions are my own.